
With so many people buying camellias, and in response to many questions, I thought I would do a bit more on camellia culture – what to do when you get your plants home.
But firstly, we will be available – that is open to the public – on Saturday 25 May – 8.00 am to 3.00 pm; closed Sunday. Come in on Saturday, wander the garden if you like, buy some camellias and vireya rhododendrons.
All this is covered in detail in the web site culture notes but… Camellias need a well drained acid soil – pH about 6.5 is good – over 7 is probably too alkaline. You can make your soil more acid by adding sulphur. Go to your garden centre and ask – but check the pH first.
If the area is inclined to hold moisture, a raised bed is a good option – you do not want to plant in a wet spot as your camellias will get root rot and suffer – if not die.
If you are not planting out immediately, put your plants in a semi-shaded position and make sure they are watered every day or two – and not just a sprinkle, water the pot so that all the potting mix is wet. If it has dried out, put the whole pot in a bucket of water for a few minutes and wait for all the air bubbles to stop – then the pot and the roots are wet. Take out of the bucket and let the water drain out freely.
Remember that sasanquas can go in full sun, japonicas and hybrids should have part shade at least.
When planting, pick your position wisely. Dig your hole twice as deep and as wide as the pot. Loosen the surrounding soil if it is solid and compacted. This will help the new roots. Add composted material to the backfill; use rotted cow and horse manures but not chook poo or mushroom compost – these can be too alkaline. You can add a spade-full or two of gravel or coarse sandy/gravely stuff – this helps drainage. Add a SMALL amount of fertiliser if you want to – the plant should have residual fertiliser in the mix and it should not need too much. Mix it all into the backfill – don’t dump it in the bottom of the hole – that just makes a place for the water to collect and that is not what we are trying to achieve.
Tickle the roots out a bit so they can start growing out into the new soil, and not just stay in the pot shape. If the plant’s root system is solid and tending to be pot bound, then rake out the roots with a 3 pronged cultivator or similar and get those roots a bit loose. Try not to break off too many. If you have to do this, give the roots a soak in a seaweed solution to help recovery.
Plant your new camellia in the hole, make sure that the top of the root ball is a little proud of the surrounding soil ie it is a bit higher than the surrounding soil after you used all the well mixed backfill and firmed it in.
Water the plant in well. You can add seaweed solution to the watering-in water.
Mulch well to a depth of 5 to 10 cm – this helps suppress weeds, keeps moisture in and keeps the soil insulated from extremes in temperatures. Stake young plants to help get them started – don’t tie them in too tightly and loosen and finally remove the tie so it does not strangle the plant.
Water in at least once a week (unless you have had at least 10mm of rain). Watch for flowers if the plant has buds. The plant is dormant now and will not put on growth ’till spring – japonicas first then sasanquas – for us about August September. Then watch for aphids on the new growth – wipe or hose them off or use a systemic insecticide as per directions.
Sit back and enjoy.

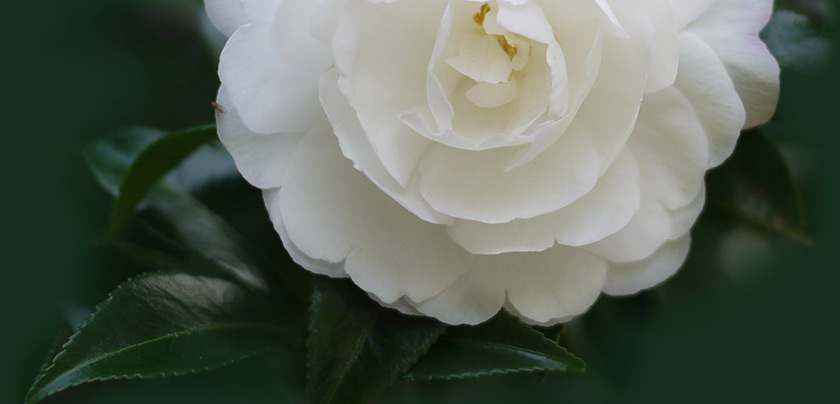
One of our Flower Girl seedlings - 'Alice'
